Installing the ISA Gateway Agent on a Windows Server
ISA Gateway Agent
InstaSafe Secure Access (ISA) Gateway Agent is a software that acts as the entry and exit point for user access. Gateways are deployed at the edge of a private network, and are used to connect remote clients or networks to the private network. It is responsible for encrypting and decrypting data sent over the secure connection, as well as routing the data between the client and the private network. Gateways use DTLS protocol to establish and secure the connection. It can also be used to connect two separate private networks together, such as in a site-to-site configuration.
The ISA Gateway must be provisioned on a physical or virtual server at each of the data centres where applications and other services are hosted that are remotely accessed by users. To ensure redundancy, it is recommended to provision a backup Gateway as well. This ensures that unforeseen issues like hardware failure or OS corruption do not lead to network downtime.
Both the primary and back-up Gateways must be configured with static IP addresses. The IP addresses must be given to the InstaSafe administrator for the purpose of opening the required ports in the controller to accept the connection from the Gateway Agents.
Downloading the Gateway Agent
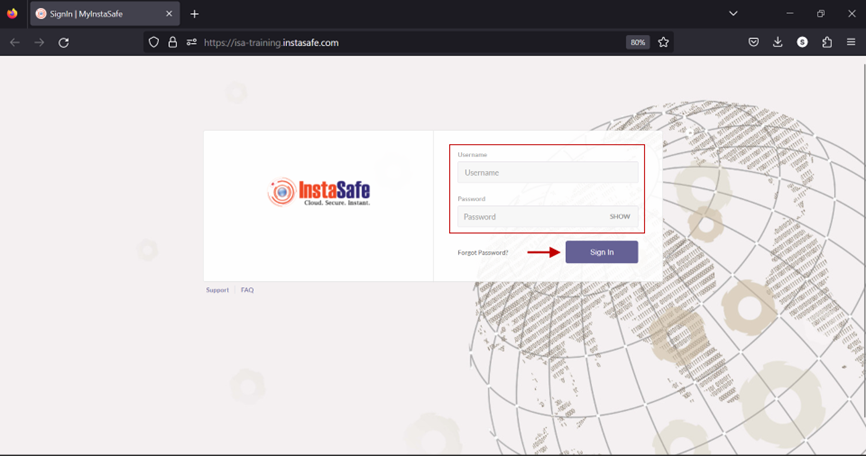
1.Log into the ISA web portal using admin credentials.
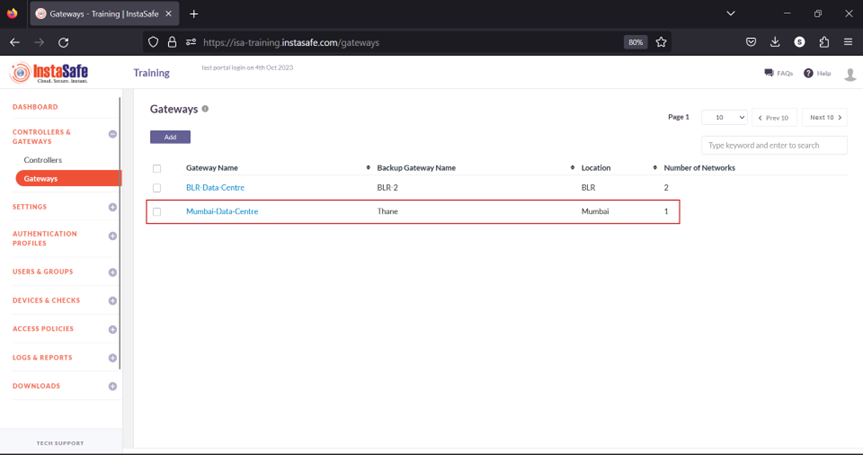
2.On the left-side menu, navigate to the CONTROLLERS & GATEWAYS > Gateways page.

3.Listed here are two Gateways. This KB article will describe the process of installing the Gateway Agent for Mumbai-Data-Centre.
4.Next, on the left-side menu, under Downloads, click on Gateway Agents.

5.Listed here are the Gateway Agents and their respective back-up Gateway Agents. Click on the Microsoft icon to download the Agent software for Mumbai-Data-Centre to the local disk.

6.The Agent software will be downloaded to the local disk.

Installing the Gateway Agent
1.On the Windows Server, make sure the Routing and Remote Access Service role is enabled.

2.Locate the downloaded file and double-click on the file.

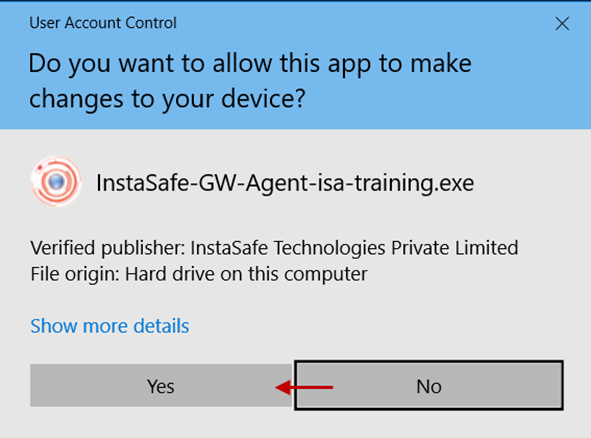
3.If User Access Control is enabled on the server, click Yes on the prompt window.
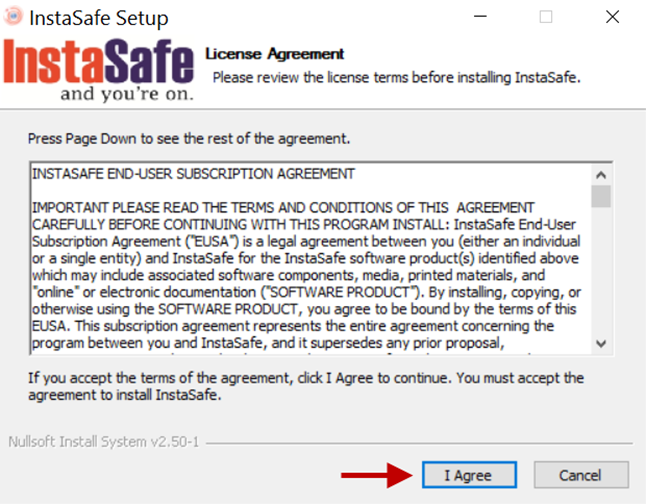
4.On the License Agreement screen, click I Agree.
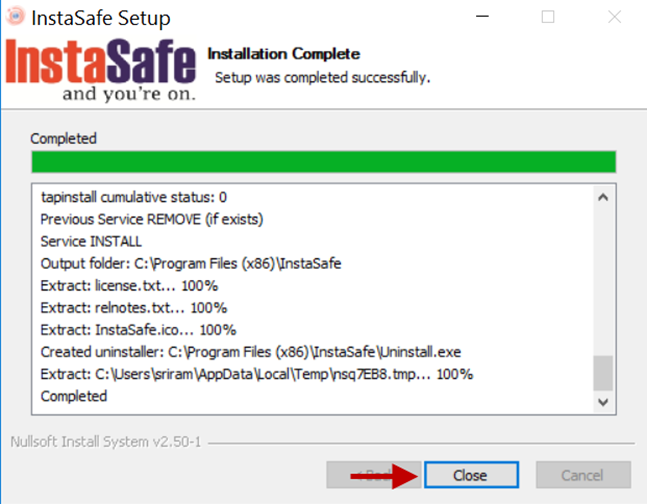
5.Once the installation is completed, click Close.
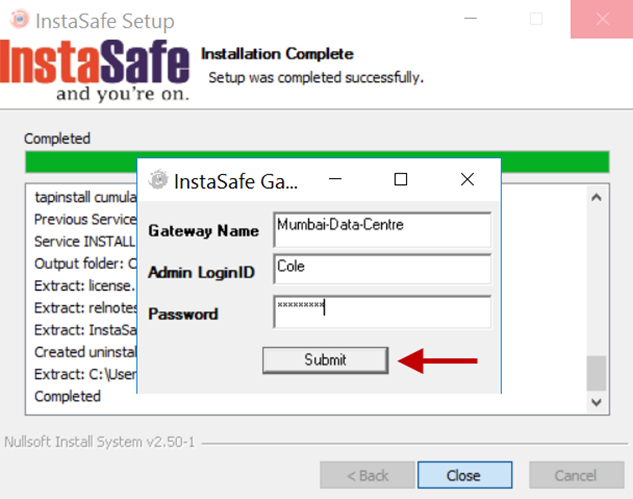
6.On the InstaSafe Gateway Details prompt, enter the following information. All fields are case sensitive. - Gateway Name: Enter the name of the Gateway. - Admin Login ID: Enter the administrator username. - Password: Enter the password of the administrator.

7.Click Submit to submit the information for verification.
8.If the Gateway details are verified as correct, a window with message, Completed InstaSafe Gateway installation on this computer, will be displayed. Click OK.

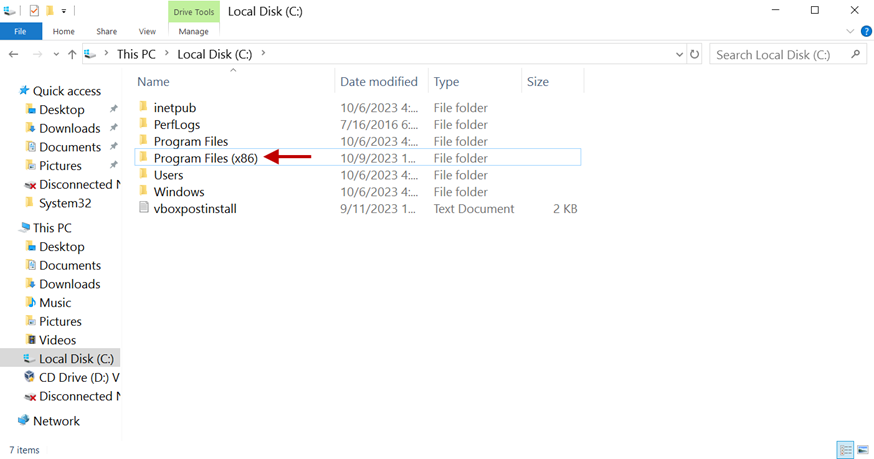
9.Open File Explorer and navigate to C:** and open the folder Program Files (x86)**.
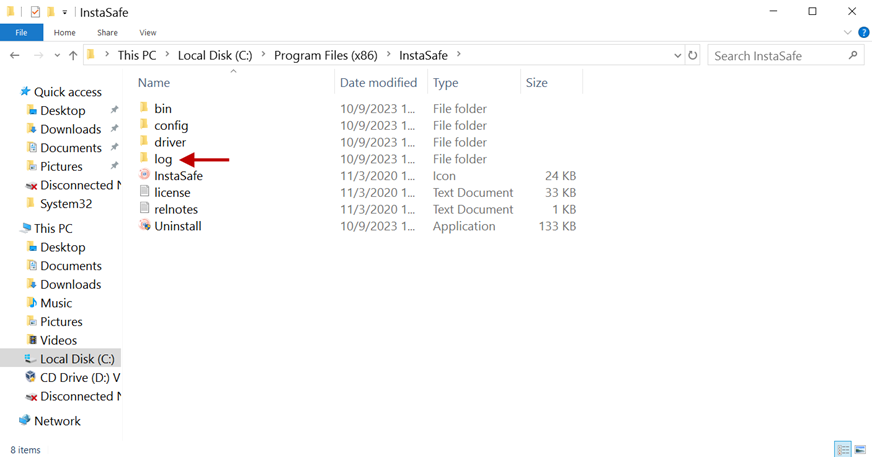
10.Open the Log folder.
11.Open the log file isa-training.txt
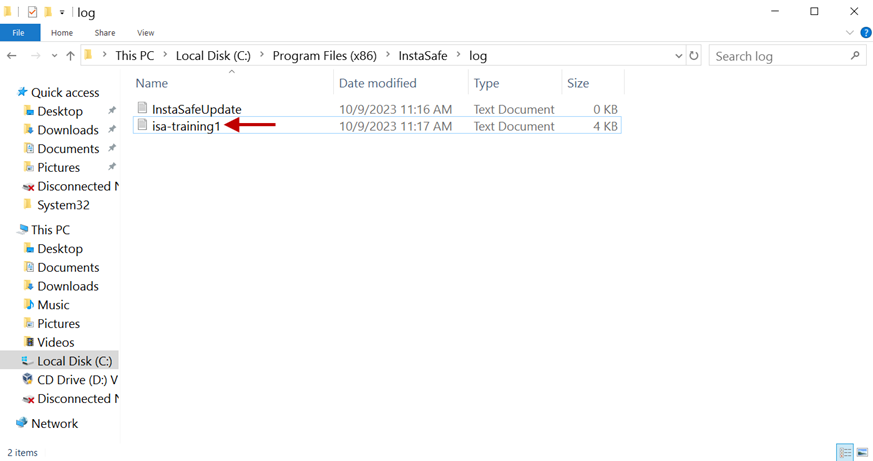
12.Scroll down.

13.Here you can see the IP address assigned to the Tap-Windows Adapter V9 virtual interface.

14.Open the command line window and enter ipconfig at the command prompt to see the IP address assigned to the Tap-Windows Adapter V9 virtual interface.

15.On the ISA web console, you will be able to see the Gateway listed under the LOGS & REPORTS > Live Gateways page
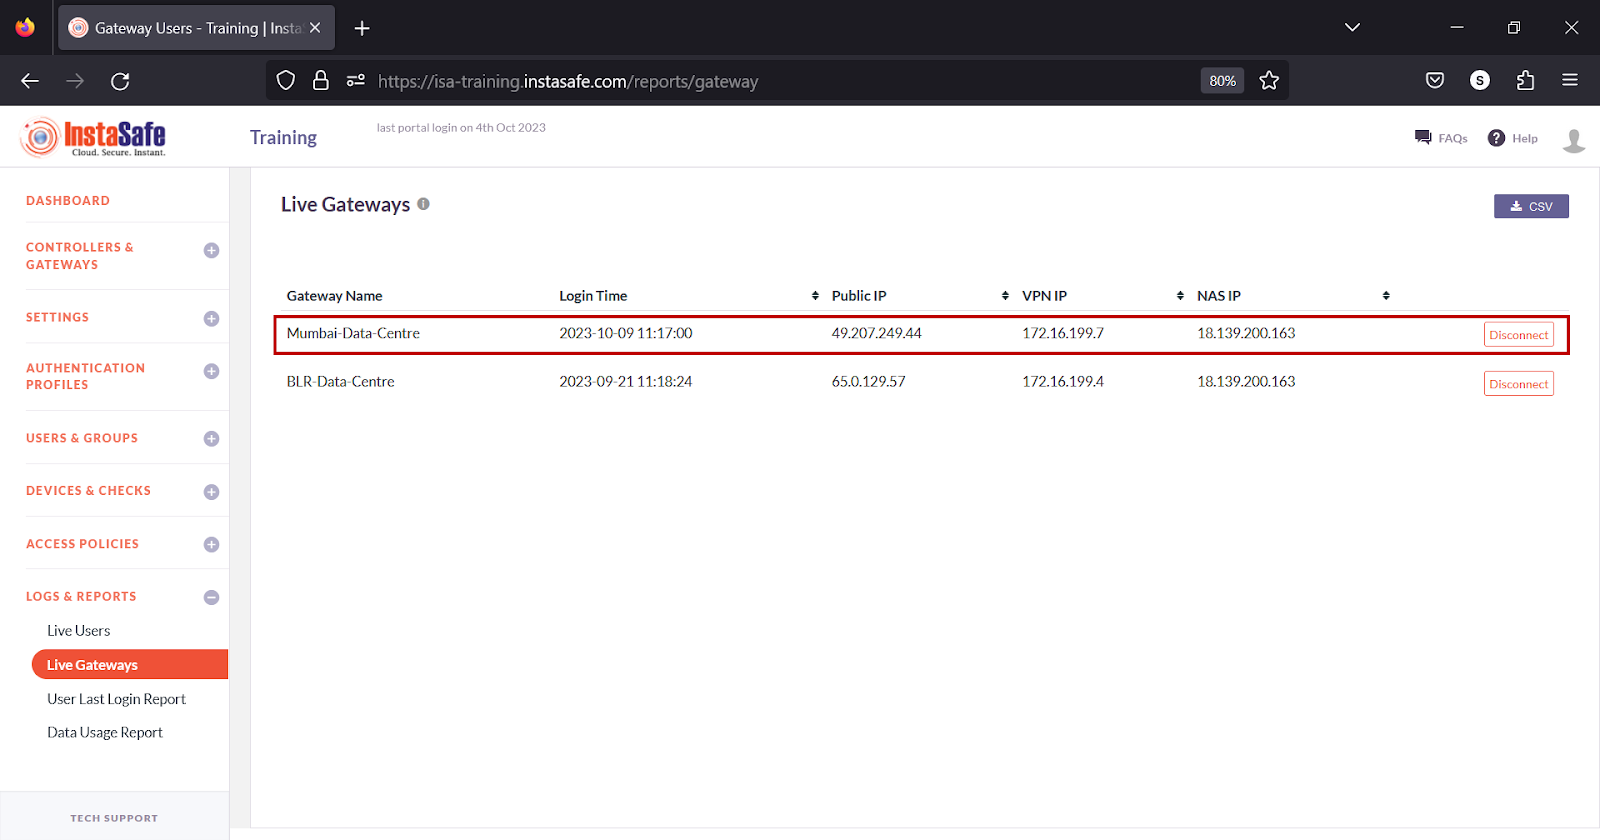
The Gateway Agent will initiate an outbound connection to the ISA Controller and establish a secure connection.
Adding Remote Access Service
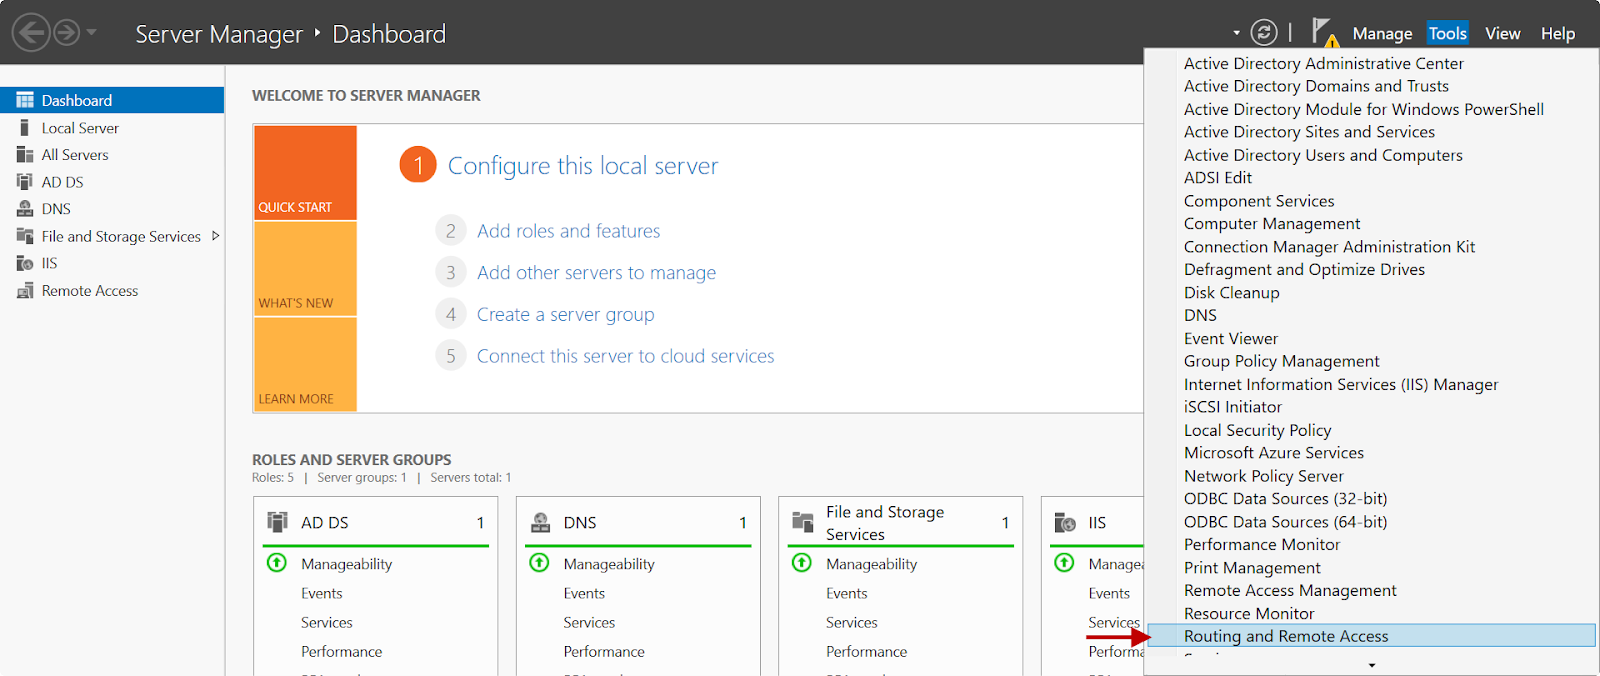
On the Windows Server, make sure the Routing and Remote Access Service role is enabled:

Configuring NAT on the Routing and Remote Access server
1.On the Server Manager screen, click Tools and select Routing and Remote Access from the drop-down.
2.Right-click on the server’s name. In this example, Win2k16.

3.Click on Configure and Enable Routing and Remote Access.

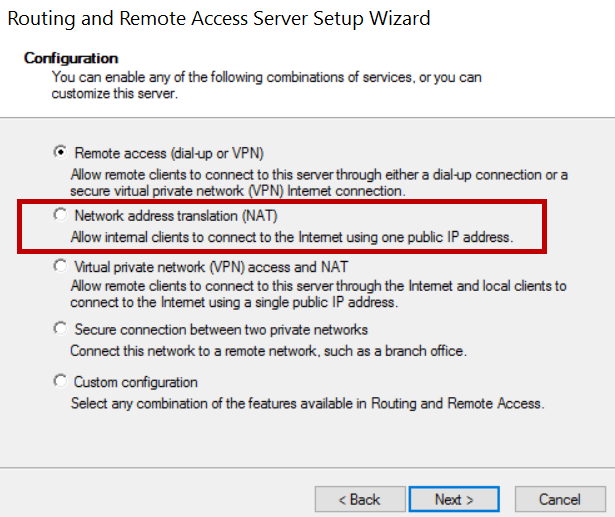
4.In the Configuration window, select the Network address translation (NAT) radio button and click Next.
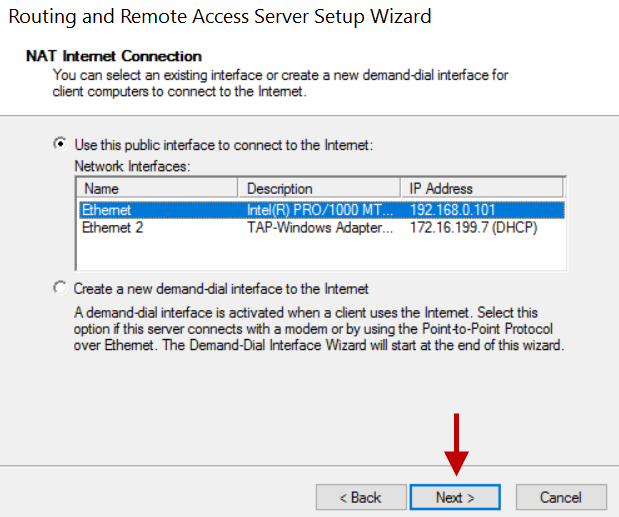
5.On the NAT Internet Connection window, select the public interface. In this example, it is Ethernet with an IP address of 192.168.0.101 and click Next.
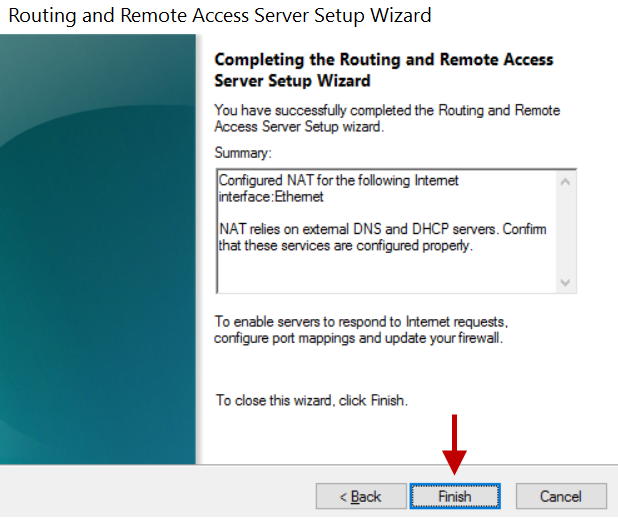
6.On the next window, click Finish.
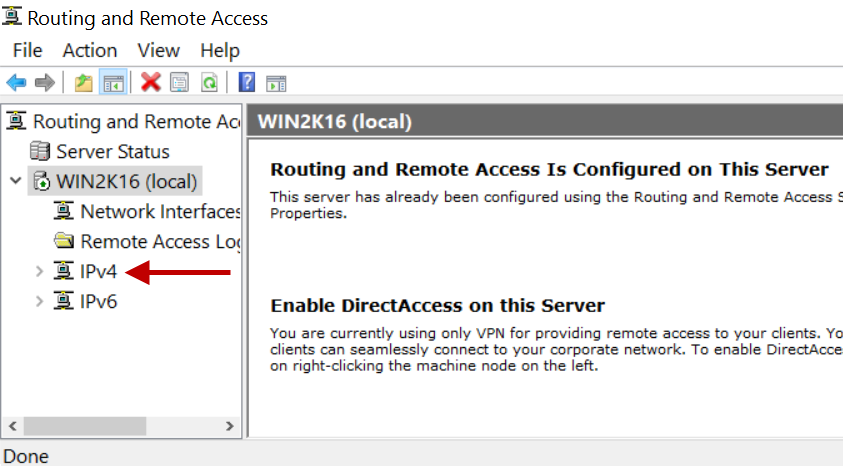
7.Expand the server’s name and expand IPv4.
8.Select NAT and right-click the physical interface selected for NAT.

9.Click Show Mappings.
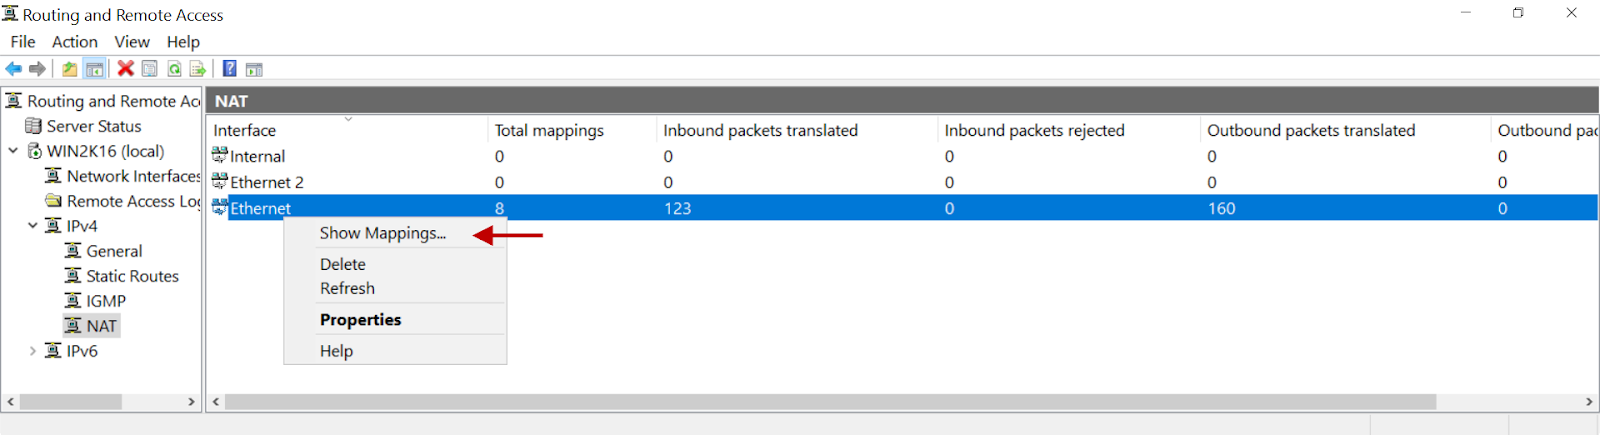
10.On the mapping table, you will see inbound packets translated on the interface selected for NAT.

In case you are unable to install the Agent by following these steps, contact your organization's IT Team.
If you are the administrator of the organization's ISA Account and need assistance, contact support@instasafe.com